
cropper
Raleigh Better Home Living
  • Home
  • Categories
    • DIY Projects
    • Smart Home Tech
    • Home Maintenance
    • Interior Design
    • Lawn and Garden
    • Design Trends
    • Draft or Deletes
  • Adding Value to Your Home
  • Feature Local Businesses
November 10.2026
3 Minutes Read

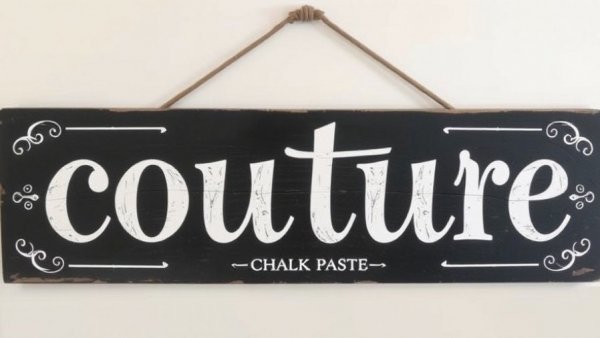
Create a Cozy Gathering Space with a DIY Farmhouse Sign Using Chalk Paste

Chalk Couture Chalk Paste Farmhouse Sign

Transforming a Blank Slate into a Cozy Statement Piece

Creating a rustic farmhouse sign with chalk paste is not only a straightforward DIY project but also a wonderful way to add a personal touch to your home. This project uses the Chalk Couture chalk paste to craft a sign that evokes warmth and invites gatherings, perfect for creating a cozy atmosphere.

Materials You'll Need for a Stunning DIY Sign

To dive into your own farmhouse sign project, gather the following supplies: a large scalloped surface (at least 19 inches), Vanilla chalk paste, a damp sponge, a Posca paint pen, sandpaper, clear wax, and a fuzzing towel. Don't forget the essential design elements, like the Gathering Place transfer, My Two Cents metallic paste, and decorative extras such as ribbon and wire to enhance your final masterpiece.

Step-by-Step Guide to Creating Your Rustic Sign

1. **Paint the Base**: Begin by painting your large scalloped surface with Vanilla chalk paste. This fast-drying material helps to build a rustic feel, especially when leaving some brush strokes visible. A second coat can provide good coverage for a more cohesive look, prepping the surface for further customization.

2. **Add Faux Shiplap Lines**: To emulate the beloved shiplap trend, use your long straight board as a guide to draw lines across the surface. This step adds a bit of character—lightly sand these lines afterwards for an aged appearance.

3. **Apply Clear Wax**: To prevent your transfer from sticking too firmly to the painted background, rub a small amount of clear wax over your surface. This will help ensure a successful design application.

Bringing your Design to Life with Chalk Transfers

Now comes the exciting part! Position your reusable Gathering Place transfer on your freshly painted surface. Center it by eye, making sure it adheres flatly without any bubbles. This transfer features the charming phrase, "The gathering place where friends become family," making it a versatile addition to your home decor.

Adding a Touch of Metallic Elegance

For the lettering, use My Two Cents metallic paste to provide a gorgeous contrast against the Vanilla background. The warm copper hue pops beautifully and instantly elevates the rustic charm of your sign. Use a small squeegee to apply the paste, ensuring it fills the silkscreen design perfectly before lifting the transfer to reveal the polished letters.

The Final Touch: Softening and Enhancing Your Signage

After lifting the transfer, you may want to soften the edges slightly to maintain that rustic aesthetic. This can be done by gently sanding the surface around the lettering to blend everything seamlessly and produce a harmonious look. Consider adding a simple bow or a small wreath above your sign to complete the farmhouse ambiance.

Why DIY Projects Matter for Homeowners

Engaging in DIY projects like creating a farmhouse sign not only beautifies your home but also provides a fulfilling creative outlet. Home design is a form of expression that allows you to showcase your personality and values. Furthermore, these projects can foster a sense of community when shared with friends and loved ones, making your space not just visually appealing, but also a gathering place for cherished memories.

Are you ready to roll up your sleeves and start crafting? Transform your space with a touch of rustic elegance that tells a story—your story. Start your DIY journey today and create a sign that will truly become a focal point in your home!
Interior Design

0 Views

0 Comments

Write A Comment

*
*
Please complete the captcha to submit your comment.
Related Posts All Posts
11.09.2026

Crafting Your Own Winter Wonderland Using a Window Pane Decor

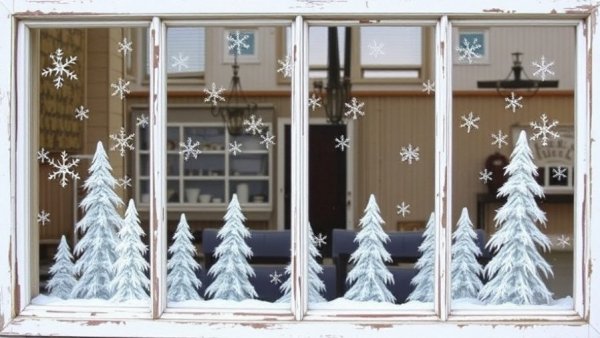
Update Transform a Simple Window Pane into a Winter Wonderland With the festive season in full swing, creating a cozy and enchanting atmosphere in your home becomes a priority for many homeowners. A unique way to do just that is by repurposing an old window pane frame into a beautiful winter decor piece. This project combines creativity with the charm of the season, making it a wonderful addition to your holiday decorations. Materials Needed for Your Winter Decorating Project As you embark on this delightful journey of crafting winter scenery, gather a few essential supplies. You'll need a window pane frame, which can often be found at thrift stores or even in your own attic. Additionally, chalk paste in Snow White and black colors, some chunky diamond glitter, ribbons, greenery, and Mod Podge will be vital to achieving your winter scene. Using a stiff paintbrush or a toothbrush for splattering will also help you create a magical snowfall effect! Painting the Frame: Your Beautiful Canvas Start the project by painting the removable backing of the window frame black. This color will serve as a midnight backdrop, allowing your snowman illustration and the winter-themed words to pop out against the dark hue. You might be tempted to use white for a snow-like appearance, but the contrast of black provides a striking visual appeal that makes your white elements stand out! Using Chalk Couture Transfers for Easy Application Chalk Couture transfers are perfect for adding intricate designs without overwhelming the process. For this winter scene, the November Club transfer featuring a cheerful snowman alongside phrases like Winter Wishes and Snowflake Kisses is ideal. The flexibility of these reusable transfers lets you approach the design one section at a time, allowing for better control and attention to detail. Position the frame over your painted backing to ensure everything aligns perfectly before applying the chalk paste. Creating Texture with Falling Snow The magic of any winter scene lies in its detail. Once you've completed the snowman and text, it’s time to create the illusion of falling snow. Water down your Snow White paste to achieve the right consistency for splattering. Dip your paintbrush and flick it over the black background to produce a charming snowy effect, varying the sizes of the drops to mimic natural snowfall. This technique adds depth and enhances the overall ambiance of your decor. Adding Sparkle: The Finishing Touch Once the paste has dried, grab your Mod Podge and sprinkle chunky diamond glitter over the thicker, snow-like areas. This will add an icy sparkle that glistens beautifully in any light, bringing your winter wonderland to life! Don't forget to embellish the green frame edges with some white paste and glitter to imitate snow accumulation there too. Incorporating Seasonal Greenery for That Fresh Look Finally, enhance your winter display by adding assorted greenery. This can range from faux pine branches to sprigs of holly. These elements not only accentuate your windowpane decor but also bring in a touch of nature, perfectly balancing the wintery scene with life and color. Arrange the greenery strategically around the frame for a more cohesive look. Why This DIY Project is a Must-Try This enjoyable craft project does more than just beautify your home; it provides a sense of accomplishment and connection with your creative side. Engaging in DIY activities like this can foster stress relief during the busy holiday season and serve as a fantastic way to connect with family. Moreover, decorating with handmade items gives your space a personal touch, inviting warmth and nostalgia into your festivities. Final Thoughts and Invitation to Create Why not gather your loved ones and start this enchanting DIY winter window decor project? Not only will it add charm to your holiday decorations, but it's also a wonderful way to bond and share stories while crafting together. Taking the time to create something beautiful can add value to your home while making memories that last a lifetime. So gather your materials, embrace your creativity, and enjoy the transformative process!

11.07.2026

Transform Your Home with Stunning Chalk Couture Christmas Dove Art

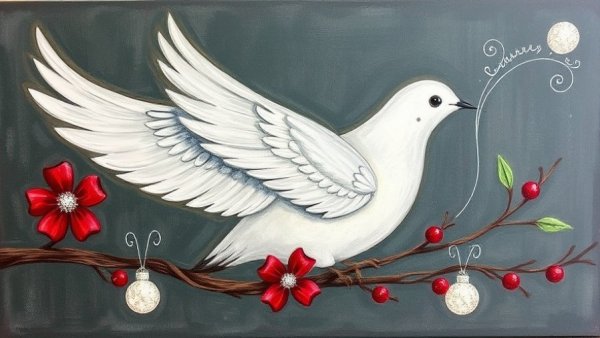
Update Creating Holiday Cheer with Chalk Couture Art Ideas The holiday season is a time for creativity, and what better way to add a festive touch to your home than with personalized art? One project that stands out this year is the Chalk Couture Christmas Dove Canvas Art. This charming piece not only amplifies the holiday spirit but also serves as a delightful DIY project that homeowners can easily accomplish, providing both joy and a sense of accomplishment. Embracing the Beauty of Handmade Art Creating art can be an expression of love and care, particularly when it’s handcrafted. By utilizing the Chalk Couture Christmas Dove transfer paired with a black canvas, you can craft a stunning display that embodies the essence of Christmas. The contrast between the black canvas and the vibrant white dove, along with the shimmering gold letters, creates a striking visual that captures attention and adds elegance to any room. Step-by-Step Guidance on Making Your Christmas Art Start by gathering your supplies: a black canvas, Chalk Couture transfers, chalk paste, and wood cutouts, among others. Using an 11x14 canvas not only provides a great backdrop but saves you time, allowing your creativity to flow. Begin with the lettering using Nominee shimmer paste, a magnificent shade that truly pops against the black background. This application can initially seem daunting, but with patience and the right techniques, you will see crisp results without pressure. Lining up your dove cutout can be relaxing; remember, handmade projects embrace uniqueness! Why DIY Projects Matter Engaging in DIY projects like this one fosters a sense of purpose and can serve to alleviate stress. The act of making something by hand promotes mindfulness, allowing you not only to focus on the physical process but to enjoy the creative journey. Incorporating art into your living space transforms it into a haven of personal expression. This will reflect positively on your overall well-being, fostering a nurturing environment during the holiday season. Maintaining Your Chalk Couture Transfer for Longevity After completing your Christmas dove art, preserving your reusable transfer is crucial for future projects. Simply rinse it with water, allowing it to dry with the sticky side up, ensuring it's ready for your next creative endeavor. This maintenance allows for sustainability in your crafting journey and makes preparing for future arts and crafts a breeze. Extending the Holiday Spirit Beyond Christmas While this project embodies the Christmas season, the joy of crafting doesn't have to end with the holidays. As you refine your crafting skills, consider exploring other themes and styles, applying the techniques you've learned. This can include seasonal decor, personalized gifts, or even projects that celebrate other life events throughout the year. Crafting is a rewarding pursuit that cultivates creativity and can lead to beautiful home decor that you can cherish. As you embark on this Christmas Dove Canvas Art journey, know that the goal is to enjoy the process and bring cheer to your home. Don't hesitate to share the finished pieces with loved ones, spreading joy and holiday warmth.

11.06.2026

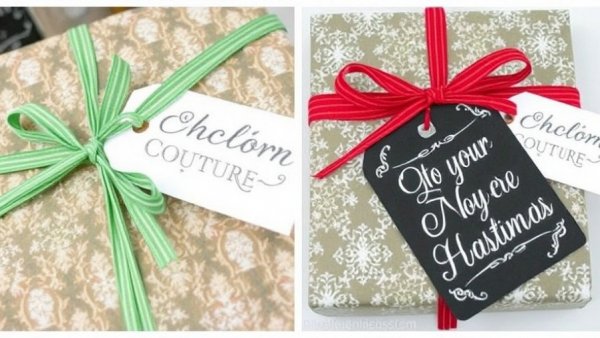
Elevate Your Christmas Gifts with Charming DIY Chalk Tags

Update Transform Your Gift-Giving with a Festive Touch The holiday season is upon us, and what better way to elevate your gift-giving game than by creating personalized touches that make your gifts stand out? The rustic charm of handmade decorations adds warmth to any package and shows the recipient just how much you care. Using a simple Chalk Couture transfer, you can turn ordinary wrapped boxes into festive masterpieces that not only feel special but can also become keepsakes. Supplies You'll Need for Your Christmas Gift Tag For this delightful project, gather your supplies. You'll need a Chalk Couture Simple Tag, which is a perfect canvas for your creative designs. Start with essentials: Bright White paint for the base, Cherry paste for the detailing, surface wax to protect your masterpiece, and some natural elements like greenery, cranberries, and ribbon to embellish the final product. Don’t forget that handmade touch! A jute cord for hanging adds a rustic finish to your tag. This supplies list is not only straightforward; it’s also affordable, making it accessible for homeowners looking to brighten the holidays without breaking the bank. Painting the Wooden Tag: A Simple Process Painting the tag is the first step to creating your thoughtful gift accessory. Begin with a coat of Bright White, which sets the stage for that eye-catching Cherry design. For those aiming for a perfectly smooth finish, consider a technique involving a painted toothbrush handle to stabilize your tag while you work your magic. This ensures that your fingers don’t smudge the painted surface, achieving a professional look right at home. Applying the North Pole Design: Crafting a Loved Keepsake Once your painted surface is ready, it’s time to apply the Chalk Couture transfer. Don’t rush this step! Apply surface wax lightly to help the transfer adhere without lifting your beautiful background. The beauty of this design lies in its nostalgia, resembling a postcard from the North Pole. As you apply the Cherry-colored paste over the transfer, the design pops against the pristine white background, truly embodying the spirit of Christmas. Dressing Up Your Gift: Making Every Detail Shine After letting your tag dry, it's time to attach it to your package. Utilize the provided jute or perhaps a colorful ribbon to tie it onto the bow. If you're feeling adventurous, complement the tag with holly sprigs, which not only bring a fresh touch to the package but also introduce delightful textures that signal the joy of the season. This small detail can elevate a simple gift into an extraordinary presentation, embodying the love and care put into gift-giving. How This Simple DIY Inspiration Can Brighten Your Holidays Creating unique decorations for your gifts doesn’t just enhance your presentation; it also fosters a sense of connection. The journey of making these gifts is filled with joy, allowing you to inject your personal style and intentions into each item. Consider this: what messages do you want to convey to your loved ones this holiday season? By doing a DIY project like this, you're making memories that will linger long past the holidays. Conclusion: An Invitation to Crafts and Connections In a world where life can get so rushed, taking time for a crafty project can be an invaluable retreat. So, gather your supplies and jump in on this delightful DIY project! The joy of making something beautiful will surely enhance your holiday experience—both for you and for those who receive your thoughtful gifts. What’s the first package you’ll gift this season? Share your creations and inspire others to add their handmade touch this Christmas!

Raleigh Better Home Living

Discover Essential DIY, Landscaping, Maintenance, and Design Tips for Raleigh Metro Homeowners on Our Media Site!

Green Street Constulting LLC

864 535 6456

AVAILABLE FROM 8AM - 5PM

ABOUT US

Empowering Raleigh Metro Homeowners: Discover the Latest Articles and YouTube Videos for Home Improvement Tips!

© 2026 CompanyName All Rights Reserved. Address . Contact Us . Terms of Service . Privacy Policy

Terms of Service

Privacy Policy

Core Modal Title

Sorry, no results found

You Might Find These Articles Interesting

T
Please Check Your Email
We Will Be Following Up Shortly
*
*
*