


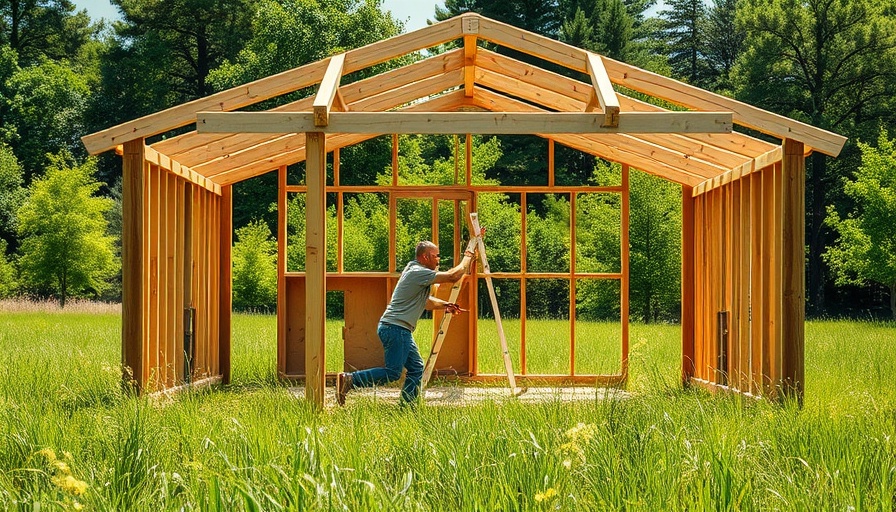
Essential Shed Framing Mistakes to Avoid
Building your own shed can be a rewarding experience, especially for homeowners who cherish DIY projects. However, with every build comes the risk of common pitfalls. In this guide, we’ll review the top five mistakes that often trip up novice builders and offer solutions to help ensure your project stays on track.
In '5 Beginner Shed Framing Mistakes (and How to Fix Them)', Scott highlights key errors to avoid in your shed building journey, prompting us to delve deeper into effective strategies for a successful DIY construction.
Foundation First: The Key to a Successful Build
The foundation of your shed functions as its backbone. Jumping straight into wall framing without verifying that your foundation is level can lead to serious complications down the line. Scott from Everyday Home Repairs emphasizes the importance of spending extra time here. Whether you’re pouring a concrete pad or laying down gravel, ensuring a level foundation is vital. Although a concrete pad may be a more expensive option, it's crucial for achieving a solid frame. Remember, take the time to check with a long 2x4 and a bubble level. If your foundation is sound, the rest of the structure will follow smoothly.
Dimensions Matter: The Importance of Accurate Cuts
Choosing the right dimensions for your walls can be surprisingly tricky. It’s a mistake many homeowners make to assume that pre-cut measurements are accurate. For instance, when dealing with standard 2x4 lumber, they often come in slightly different lengths, which can throw off your layout considerably. Always measure twice and cut once, ensuring that both the bottom and top plates are precisely aligned. This attention to detail will save you from having to redo your calculations midway through the build.
Planning: A Blueprint for Success
Lack of planning can lead to heavy walls collapsing or being difficult to manage. Each shed build is different, and failing to strategize how you will raise and secure the walls can result in frustration. Scott suggests creating a safe lifting plan, especially for larger walls that could be cumbersome. This not only aids in safety but also enhances the quality of your work as it becomes easier to ensure all walls are plumb—and that your shed stands the test of time.
Take Your Time: Engage in a Methodical Assembly
Those initial assembly steps are critical to your project's success. Rather than rushing through—especially when nailing corners together—consider using screws initially to hold everything in place. This method offers the flexibility to make adjustments without damaging your framework. DIY projects can often feel overwhelming, and ensuring that you give yourself room for error and correction can lead to a more polished end product.
A Beaming Opportunity: Consider Shed Building for Profit
Finally, if you find yourself enjoying this DIY endeavor, consider how your skills could transform into a side hustle. Scott’s channel is launching a community course on shed building intended to equip you with the skills and insights to turn your DIY projects into a profitable business. Imagine making an income from the skills you’ve honed in your own garage!
In this journey of building a shed, mistakes can often lead to valuable lessons. Embracing the process and being prepared to problem-solve makes for a rewarding experience. Remember, successful DIY projects require careful consideration, ample planning, and a willingness to learn from missteps. Jumping into a new project can feel daunting, but with the right tools and mindset, you can create not just a structure, but a centerpiece for your outdoor space that enhances your home's value.


Write A Comment